by Mark Anderson
Roof climbing is my nemesis. As someone who “grew up” climbing at Smith Rock, I always gravitated towards clean, monolithic faces that sweep skyward in one continuous plane of consistent steepness. My best angle is probably plumb vertical, and the steeper it gets after that, the more I struggle. The climbing on the Colorado Front Range tends to be far more varied, with undulating walls, short steep overhangs and jutting roofs. When I moved to Colorado it was clear that I would need to adapt my style if I wanted to have success on the local terrain, so over the last several years I’ve made a conscious effort to attack that weakness. I began the process by focusing more attention on Whole Body Strength Training, as described in The Rock Climber’s Training Manual. In addition to that, I dedicated more and more performance time to attempting routes that didn’t suit me. It was an “arranged marriage” at first, but I’ve since come to really appreciate all the intricacies and limitless options that my local crags have to offer.
I decided to dedicate the long winter to further targeting this weakness by adding a handful of new exercises to my winter Strength Phase (I’ll get much more into that in a series of future posts we’re working on that discuss core training). Two weeks ago I finally emerged from my training lair ready to scuff up my fingers. To gauge my progress, and further practice my roof-climbing skill development, I decided to try a long-standing project in Clear Creek Canyon called “Double Stout.” Double Stout was envisioned, cleaned, and equipped by my friend, all-around great guy, and author of Clear Creek Canyon Rock Climbs, Darren Mabe. It’s a towering 35-meter line, rising front-and-center up the proudest section of Clear Creek’s premier sport cliff, The Wall of the 90’s. It sits just left of my route American Mustang (which itself is a variation to another of Darren’s routes, Wiled Horses), and the Mission routes, so I’ve had plenty of time to gaze longingly at it while hanging at various cruxes.

Double Stout begins up the near-vertical wall, darts out the big roof, and then weaves through tiered overhangs to the top of the cliff.
The climb begins with 20 meters of absolutely brilliant technical face climbing up an 85-degree slab. Others have noted that this slab of stone seems to have been transplanted from the NRG’s Endless Wall. The rock is magnificent and breathtaking, with fabulous orange and black swirls reminiscent of Quinsana Plus. The climbing is intricate, insecure and fantastic. The slab ends at a 2-meter, slightly-steeper-than-horizontal roof. The crux is surmounting this daunting beast. Above, another 10ish meters of cerebral and pumpy climbing snake through a series of small, tiered roofs, to the apex of the cliff.
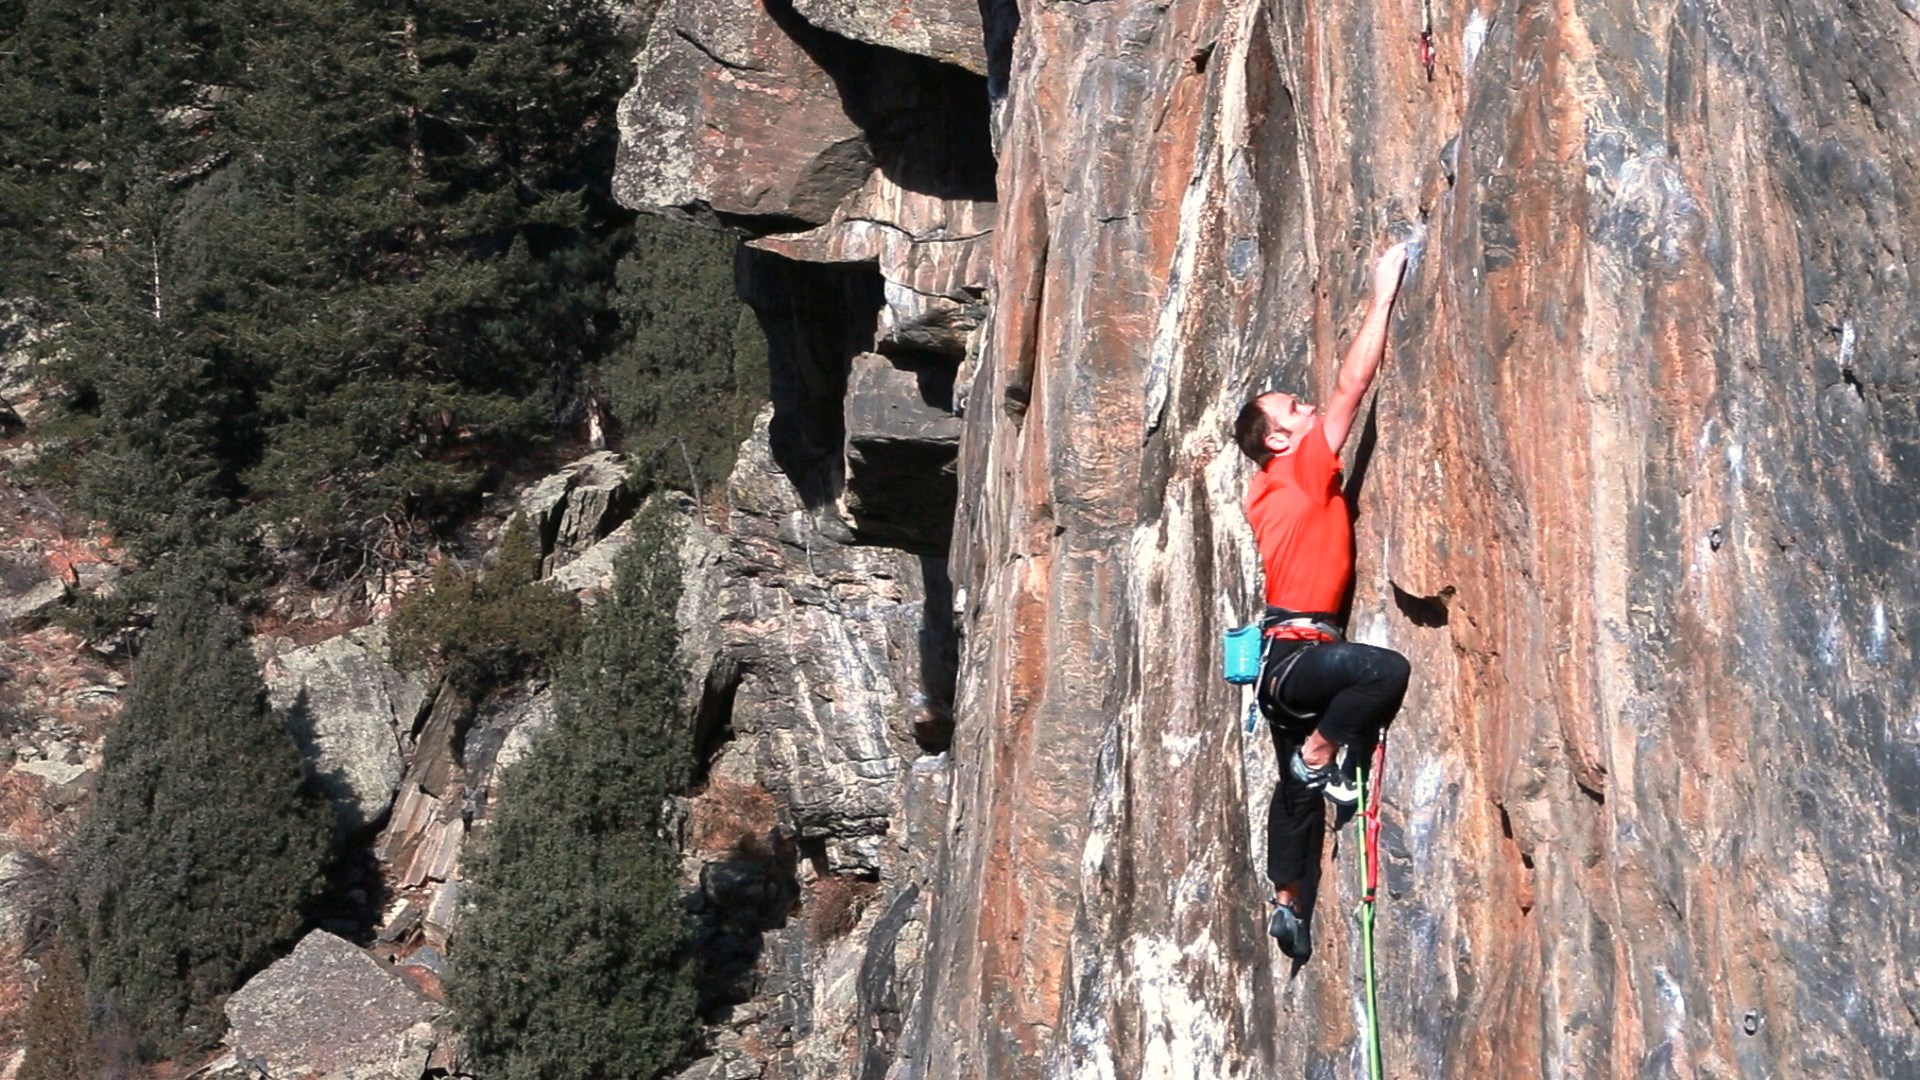
The brilliant calico slab. Photo Mike Anderson.
After equipping the line in 2009, Darren quickly sussed and sent the slab. I think Darren wouldn’t mind me saying that he put his heart and soul into freeing the entire line to the top of the cliff, but after a valiant effort, he graciously opted to open the project to other suitors in the summer of 2010. Darren moved to Flagstaff a couple years later, but interest in the route has remained high. Since the route was opened, the slab has been enjoyed by many as a great 5.13b route in itself, and is now regarded as one of the best 5.13s in the canyon (if not the best).

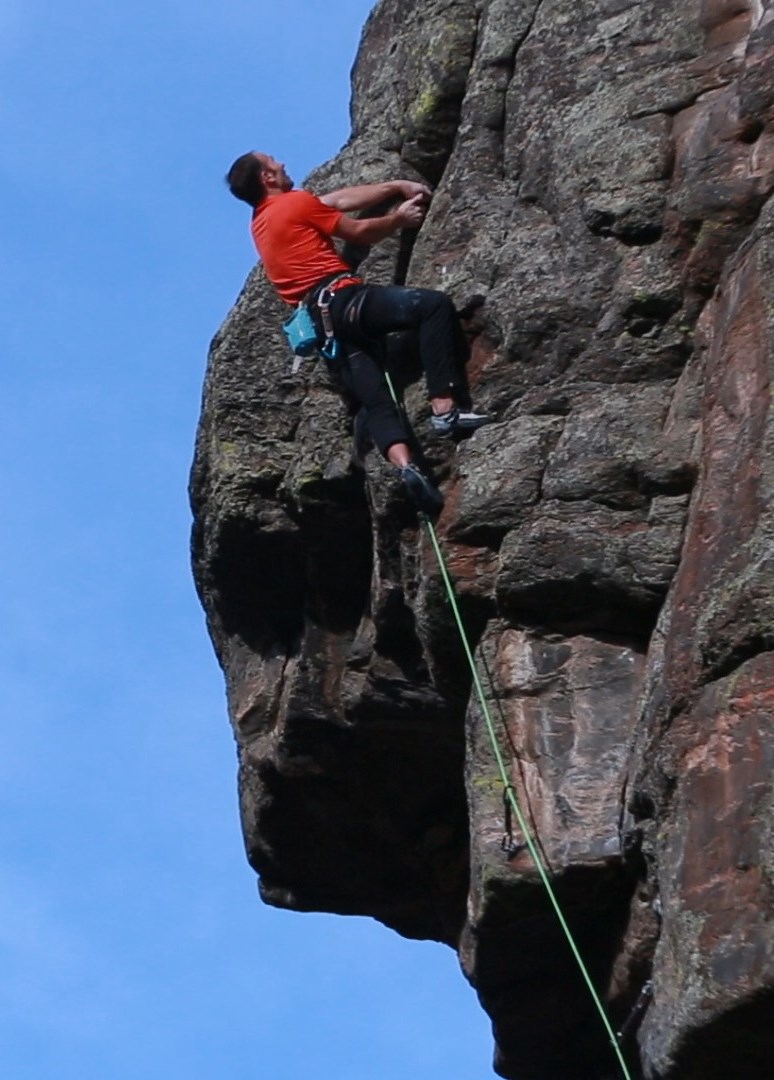
Smearing up the first slab crux on miserable bumps. Photo Mike Anderson.
As for the continuation through the roof, more than a few great climbers have taken a stab at it since it was opened. The word on the street was that the roof was significantly height-dependent, and likely impossible for those below average height. I was well aware of that rumor, and it certainly discouraged me from trying the line sooner. That, and the fact that regardless of wingspan, it just looked plain hard! But with more likely projects sent or out of condition, it was finally time for me to investigate.
Finishing up the slab. Photo Mike Anderson.
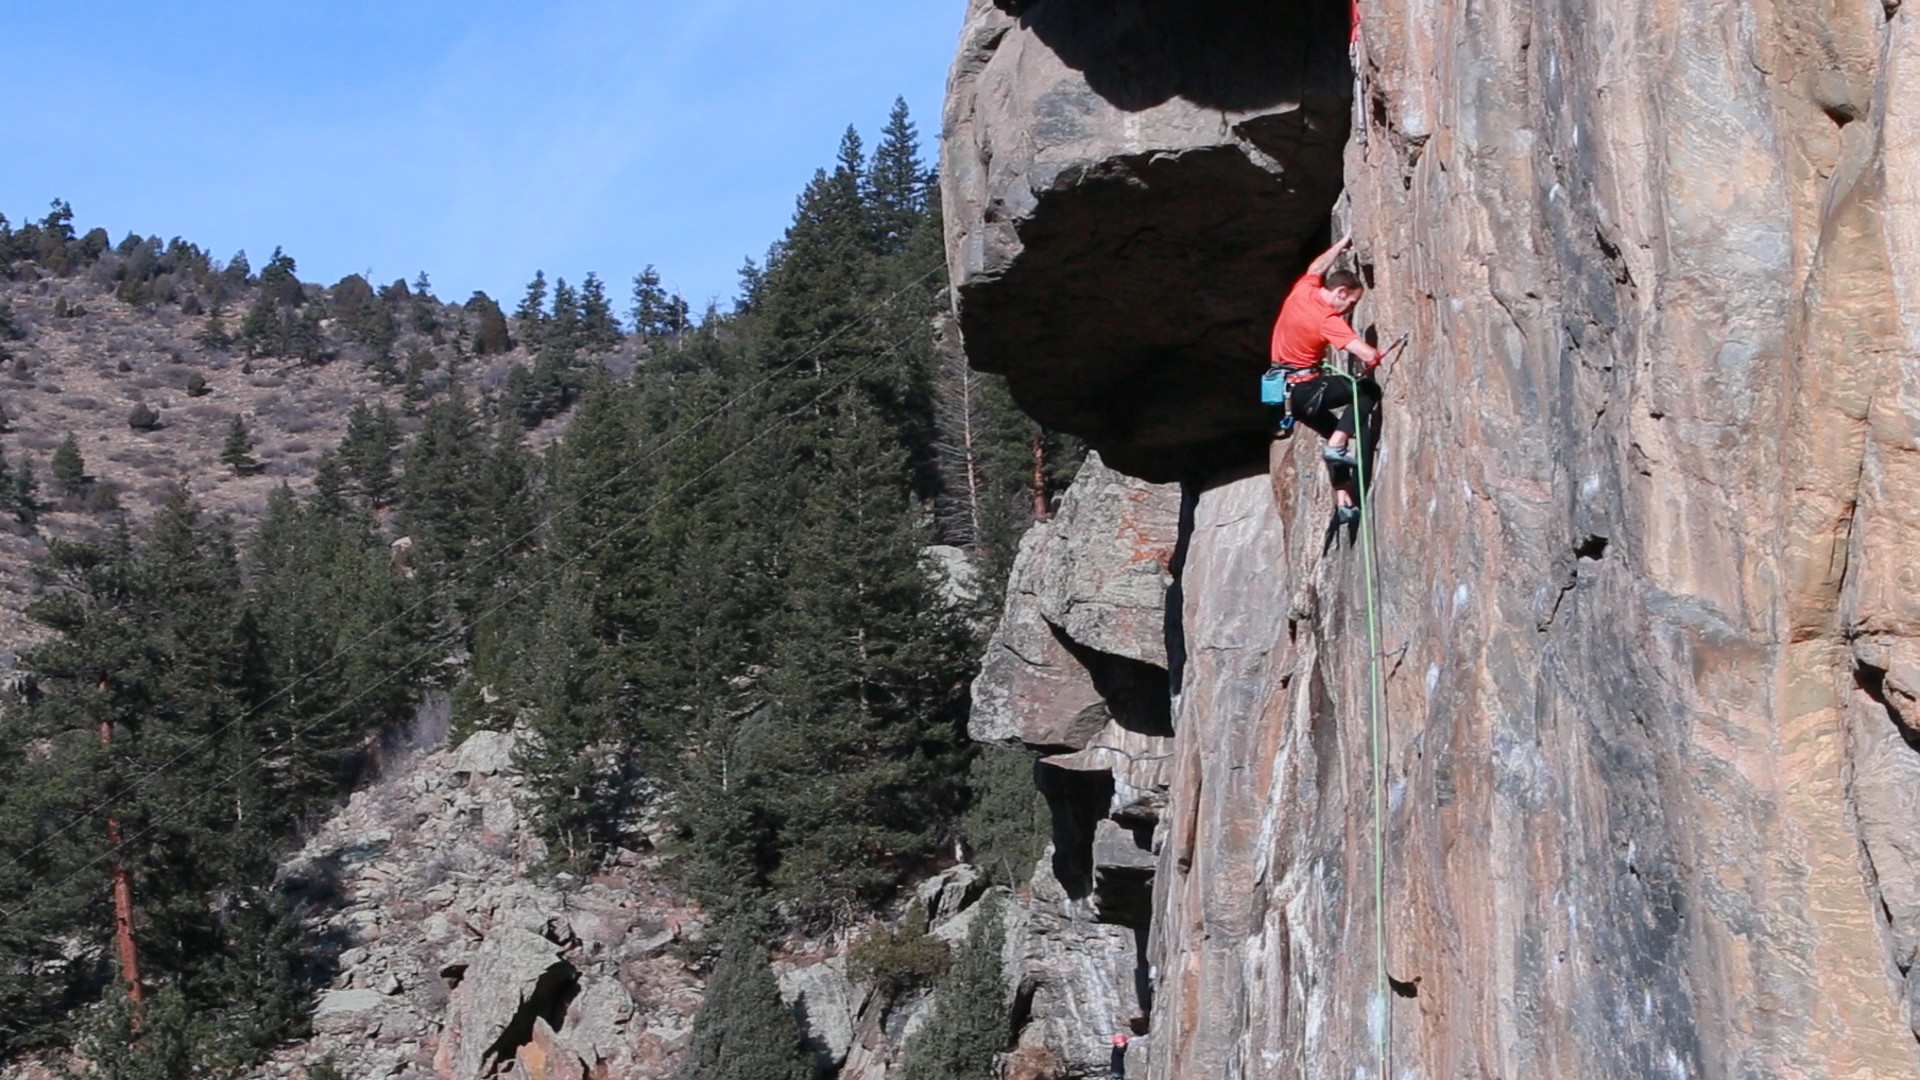
My first attempt was less than inspiring. The roof crux begins with a long reach to an incut flake in the roof. This has to be grabbed as a gaston, with the left arm in an Iron Cross position, followed by a shoulder-wrenching negative contraction to sag onto the hold. The first time I tried that move I felt like my shoulder was going to explode. From there, you need to work out to a slopey, 1-pad edge at the lip of the roof. The other climbers I had seen on this were able to reach the slopey edge with their feet still on the ledge at the top of the slab. My 67” frame was unable to bridge that distance, but I found a small foothold in the roof that provided a decent setup for a precise dyno to it. I wasn’t able to do the move on my first burn, but I felt confident that I could eventually.

The iron cross move into the roof. Photo Mike Anderson.
I was more concerned about the next move. The standard beta was to campus from the slopey edge to a big, slanting rail above the roof (with the left hand still on the first roof hold, the incut flake). To make this reach I had to turn my head to one side and paste my ear into the wall! It seemed doubtful I would be able to do that, without hanging on the rope, on redpoint, or that I would be able to “unwind” from it if I did manage to stick the slap. After exploring the headwall a bit I lowered with mixed feelings. I debated packing it in and looking for another project. I often experience these crises of confidence, which is really kinda silly considering how many times I’ve lived through the exact same scenario, lowering in defeat, only to later redpoint the route in question.
After reminiscing over such recoveries, and realizing there was no upside to quitting early, I tied in for another attempt. This time I was able to stick the dyno to the slopey edge at the lip of the roof after a few tries. Then I discovered some sneaky over-head-heel-hook trickeration that completely disarmed the presumed crux. After practicing a few times and refining my sequence I was ultimately able to do the move statically. For all my endless rambling about finger strength and training, I really think my greatest asset is my knack for devising whacky beta to get around “impossible” moves. There were still a few transition bits to work out, but now I knew the line was within my abilities.

Straining to control the violent swing after cutting my feet off the ledge. Photo Mike Anderson.
After one more day to refine my sequence, I returned last Friday for another set of attempts. On my first burn I gingerly worked up the relentless slab, barely staying in contact in numerous spots due to completely numb fingers. I was able to warm my hands at the no-hands stance in the crook of the roof, and then I climbed with surprising ease out to the lip. I latched the heel hook, but as I reached for the slanting rail my flagging foot, which I had neglected to place in the correct spot, suddenly popped off, with the rest of me in tow. After dangling for a couple minutes, I pulled back on and continued to the top. It was my first one-hang but might have been a send. I wasn’t expecting it to go nearly that well, so I was quite psyched despite the foot flub.
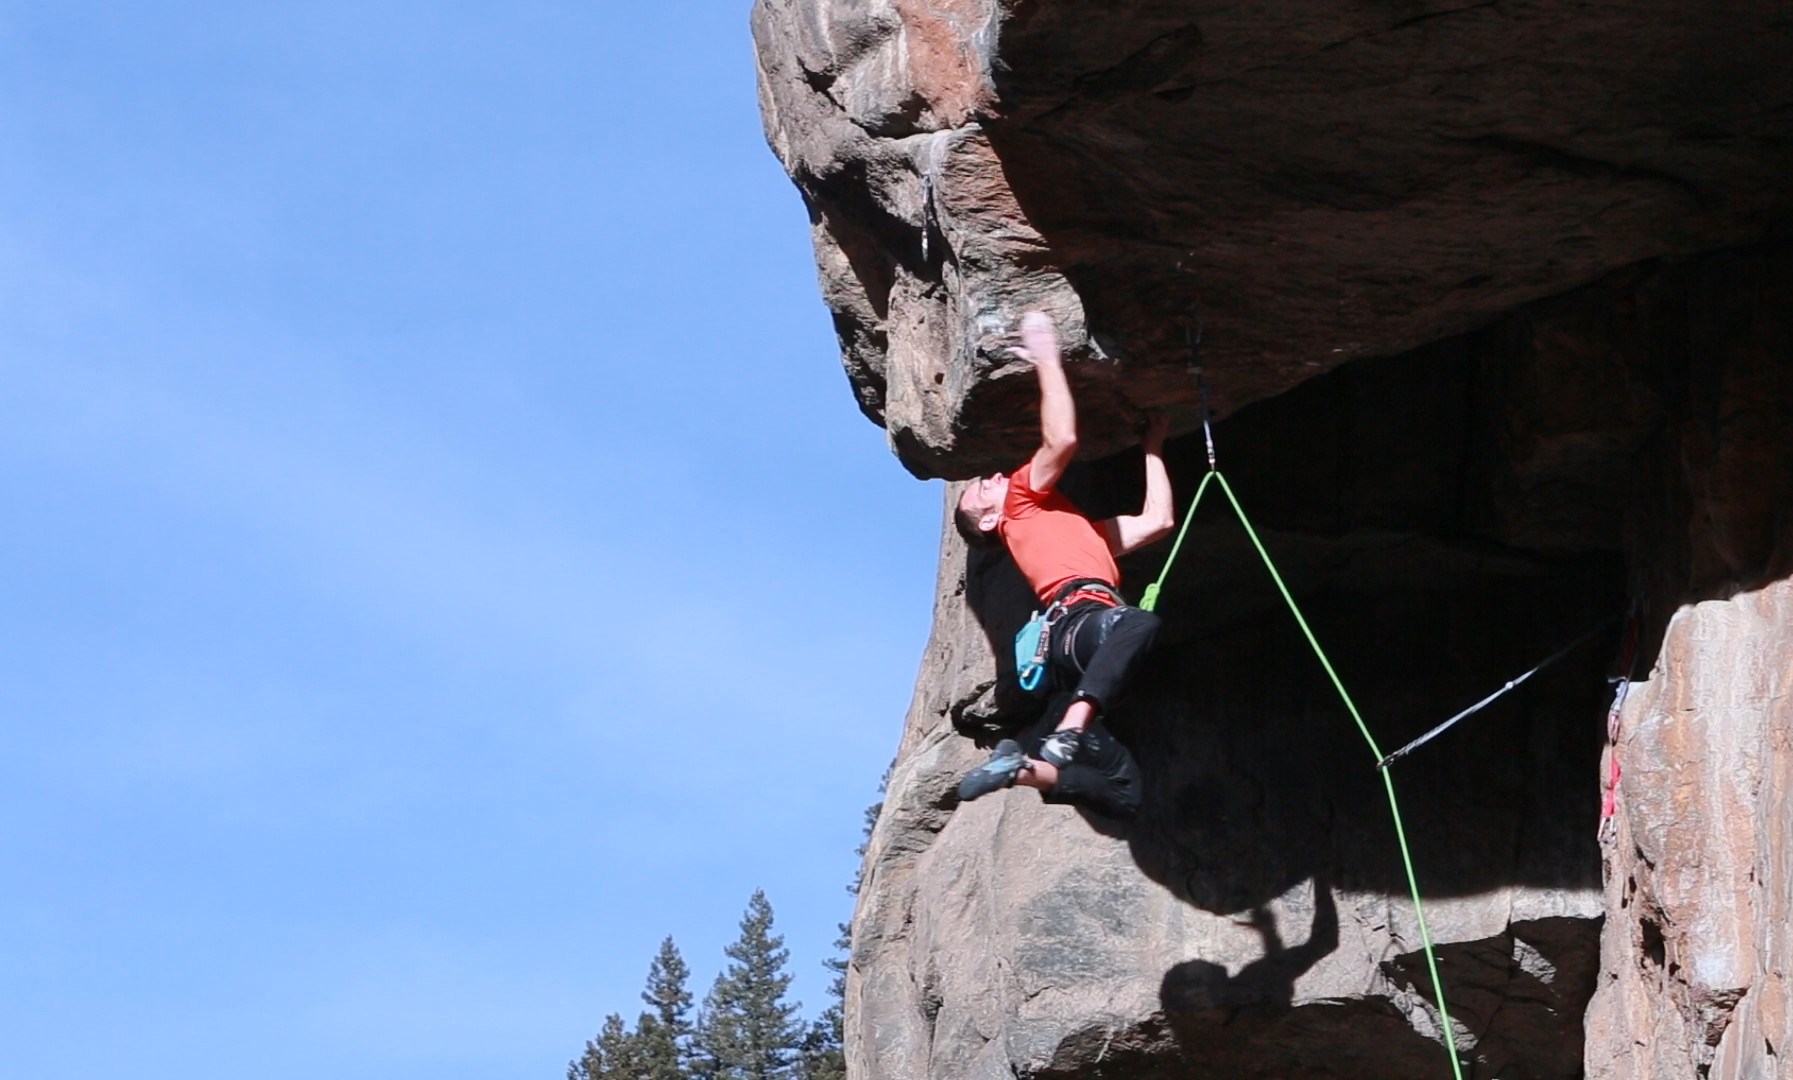
The key campus move to the slopey edge. Photo Mike Anderson.
I took a short walk to warm up my toes, and then started back up. With my fingers properly warmed up the slab felt much more solid. After a nice long shake atop the slab, I quickly moved out toward the lip of the roof, and then threw my feet overhead to setup for the heel hook. Just as I got my feet set I realized I had forgotten the campus move out to the slopey edge! My first thought was that I was hosed and needed to take. I quickly decided to re-set and continue climbing if I could. I reversed the front lever, took a deep breath and slapped for the edge. I didn’t hit it quite right, but was able to bounce my hand into the correct position. I pulled my legs back up over my head, and walked them out to the lip to snatch the heel hook. As I arranged my hands for the decisive move, I noticed my biceps were quickly fading from so much extra footless dangling.

Pulling the lip, feet first and almost completely inverted. Photo Mike Anderson.
This time I put my flagging foot into the correct position. I no longer had the lock-off strength to reach the rail statically, so I took a deep breath and coiled. Bracing for a fall from an inverted position, the thought of slipping out of my harness briefly flashed through my brain. Stupid brain! I was committed and determined, so I went for it. I stuck the rail, gingerly allowed my hips to swing into balance, and removed my low hand to clip. After matching the rail I made one final campus move and then swung my left foot over the lip. I lunged for a jug, threw my other foot up, and manteled onto the headwall for a much-needed no-hands rest. My heart was beating out of my chest, but I knew it was in the bag. After a long rest I weaved up the headwall, clipped the chains, and Double Stout was free!
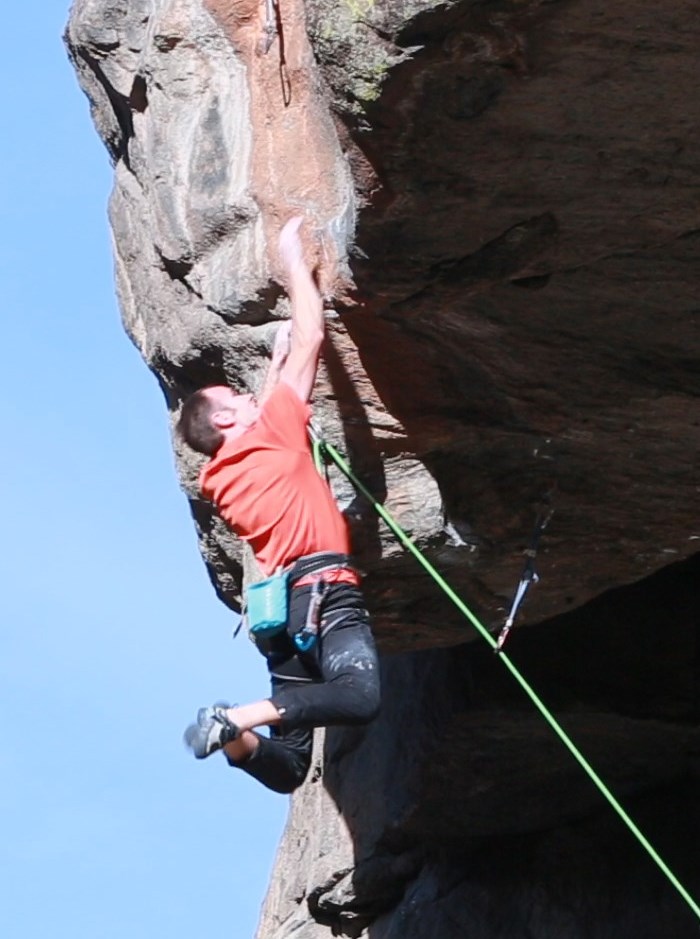
Working along the lip to reach better holds. Photo Mike Anderson.
I owe a great deal of thanks to Darren for envisioning and creating the line, and for encouraging me to try it. Dave Montgomery also put a lot of effort into the route, and the video of his attempts helped get me started. People like Darren and Dave keep Colorado climbing fresh and relevant with their imaginative and inspiring creations. If you take a good look at the history of Clear Creek climbing, the top end was really starting to stagnate in the early 2000’s. Darren and his like-minded partners re-invigorated the scene with a slew of great new routes, including selflessly cleaning and equipping futuristic lines like Mourning Glory, largely for the benefit of other climbers. As a result, Clear Creek now stands head and shoulders above the rest of the Front Range when it comes to hard sport climbing.

Beginning up the excellent tiered headwall. Photo Mike Anderson.
As for Double Stout, it’s really an awesome route and a great addition to the varied assortment of hard Clear Creek sport climbs. I think a typical climber (read: someone who doesn’t have a demented fascination with razor sharp edges and miniscule footholds) would find it to be the most enjoyable of the many stellar hard lines on the Wall of the 90’s. For those who enjoy routes that offer a little bit of everything, there are few routes on the Front Range that compare. With the right beta, it’s not as cruxy or reachy as advertised. That said, it’s a tough line to grade because I do think it is height-dependent (but not height-excluding, at least not at my height). I can only say that for my dimensions, with my beta, it felt about 5.14a. I suspect climbing out to the lip of the roof would be easier for a taller climber, but how much easier, and how much taller, I have no clue. We will have to wait for such a climber to do it and let us know. Darren tells me he’s training for a re-match, so I’m sure we’ll have at least one more opinion to go off of in the near future.
The top of the Double Stout headwall. Photo Mike Anderson.

Thanks for another great write up on Front Range climbing! I’ll have to reread the RCTM to brush up on my over head heel hooking technique 😉
LikeLike
Nice work. This is why I’ve been training religiously with your book.
LikeLike
Pingback: Delivered From Purgatory | The Rock Climber's Training Manual
Pingback: New CCC Crag & Another FFA | The Rock Climber's Training Manual
Pingback: Aftermath | The Rock Climber's Training Manual
Pingback: How to Become an Expert Climber in Five Simple Lessons (Lesson 4) | The Rock Climber's Training Manual