
The finished adjustable mount. Keep reading to learn how to make your own.
The finished product is shown above, and the backside view is shown below. It uses “Door Stop” hardware I found at Home Depot to drape accross a 2×10 (or 2 x whatever you like..) Besides being much lighter and lower profile than the French Cleat, this design is also extremely portable. this mounting system could be hung from any 2×8, if you were on the road and needed to get your training in…think of the possibilities…

Rear view of the finished adjustable mount.
The base board is 3/4″ plywood, which the RPTC and Door Stop hardware mount to (with T-Nuts). I had some nice scrap plywood laying around that I used, but you could use a lower grade to save some money. I used my RPTC to trace out the shape for the base boards, and cut it with a jig saw, which is ideal for cutting curves. Before you cut, plan out where the screws for the RPTC are going to be, and where the bolts for the door stops will go so that they don’t interfere. It’s a good idea to drill the holes for the Door Stop hardware before you cut, but it isn’t necessary.
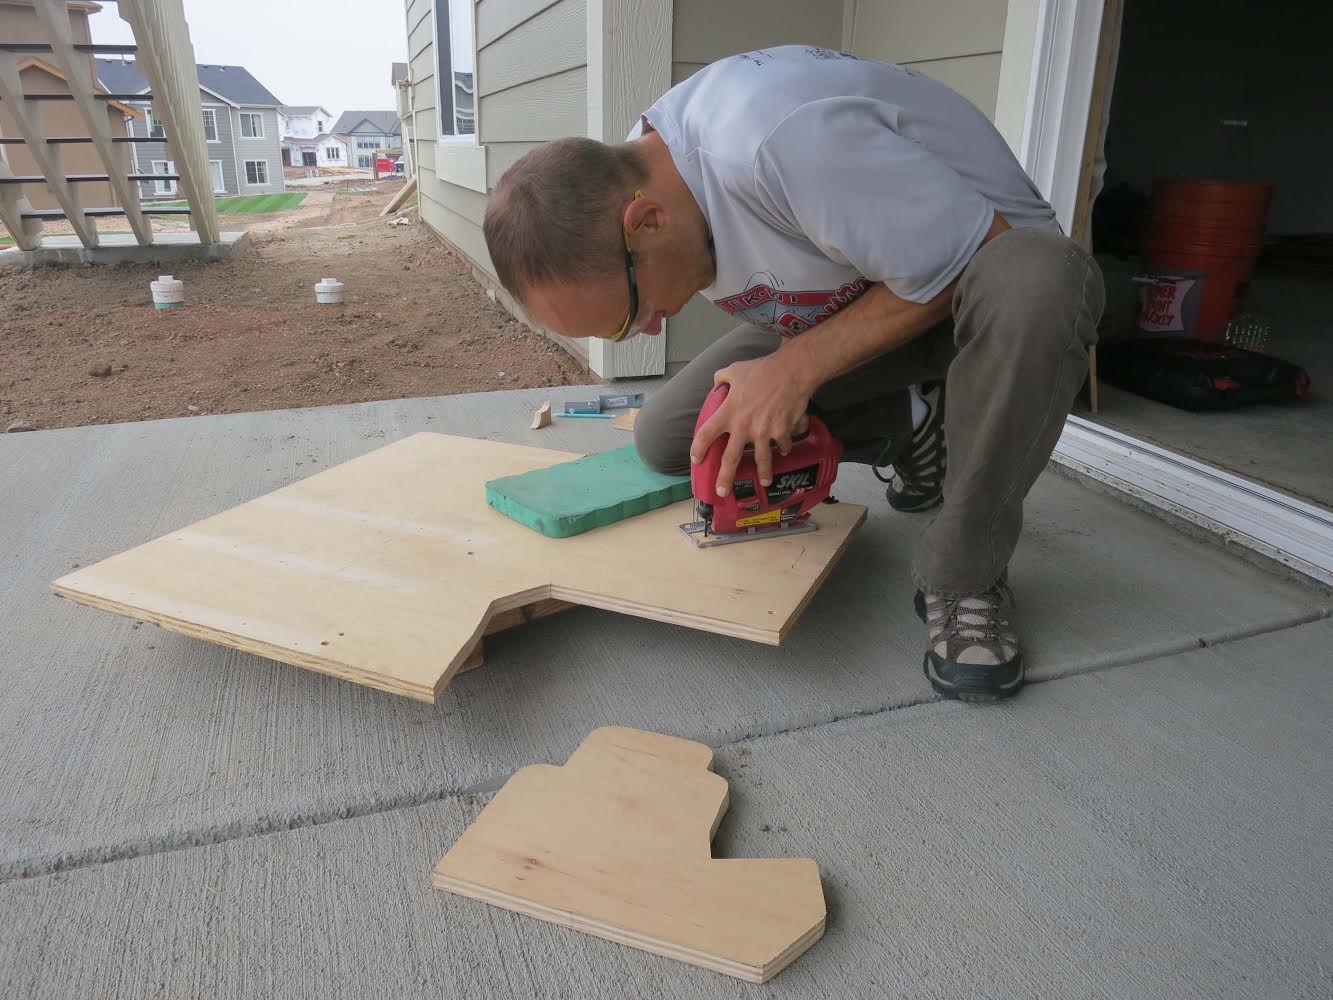
Cutting the 3/4″ plywood base board with a jig saw. Use safety glasses!!!
I left about a 1″ margin at the top of the board, as shown in the next photo.
Note the ~1″ overlap at the top of the RPTC.
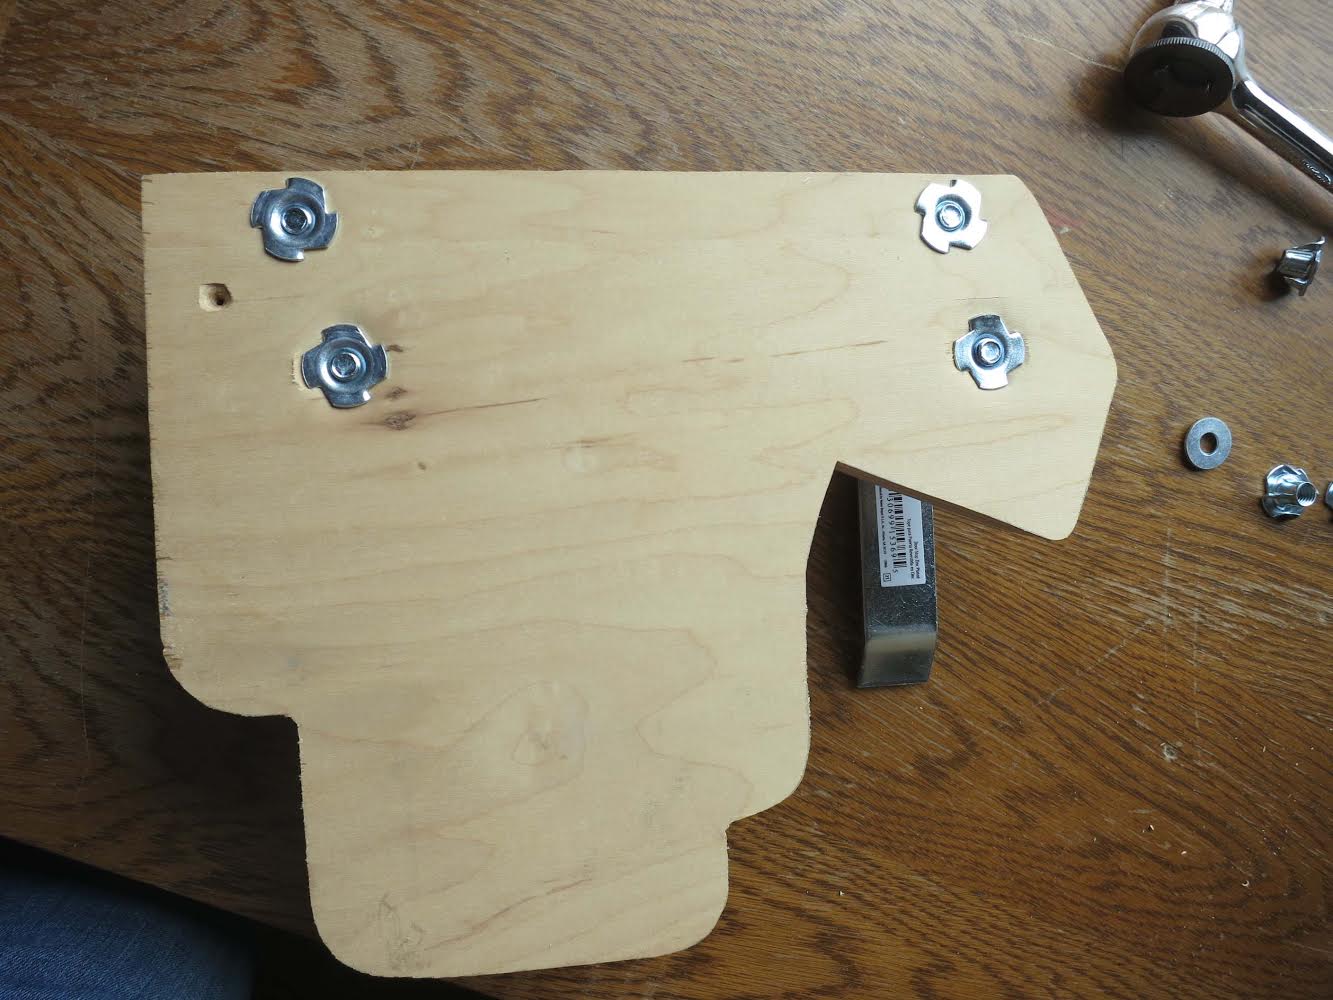
Here is how I laid out the bolt holes for the door stops:
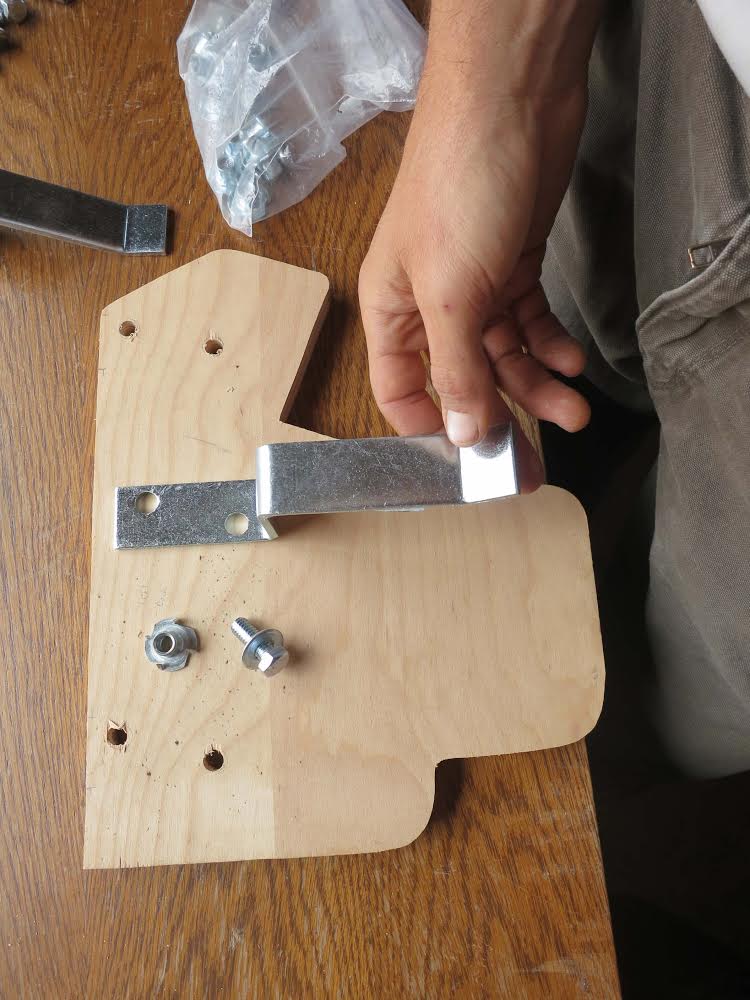
Laying out the holes for the Door Stop. You’ll want to mount this as close to the top of the baseboard as possible.
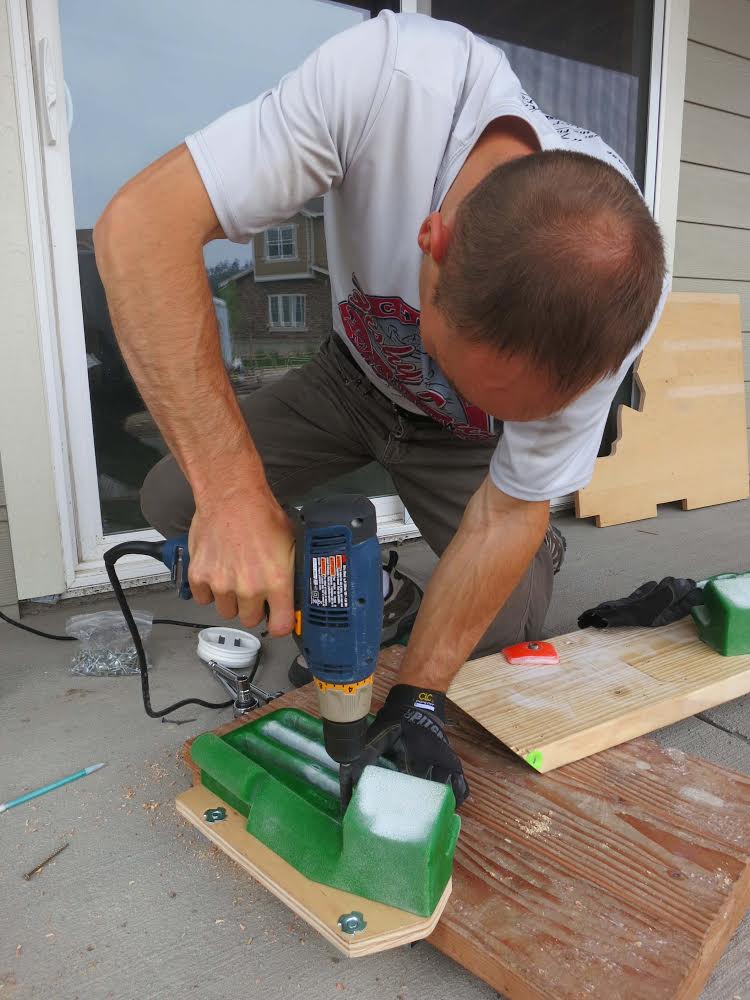
Every climber should have a bucket of 5/16″ T-Nuts laying around, but you may need to pickup some 3/4″ x 5/16″ bolts and washers. You’ll want to torque these pretty tight so that the T-Nuts suck in to the plywood and are flush with the plywood. This will ensure the RPTC can be mounted to the base board without interference from the T-Nuts.
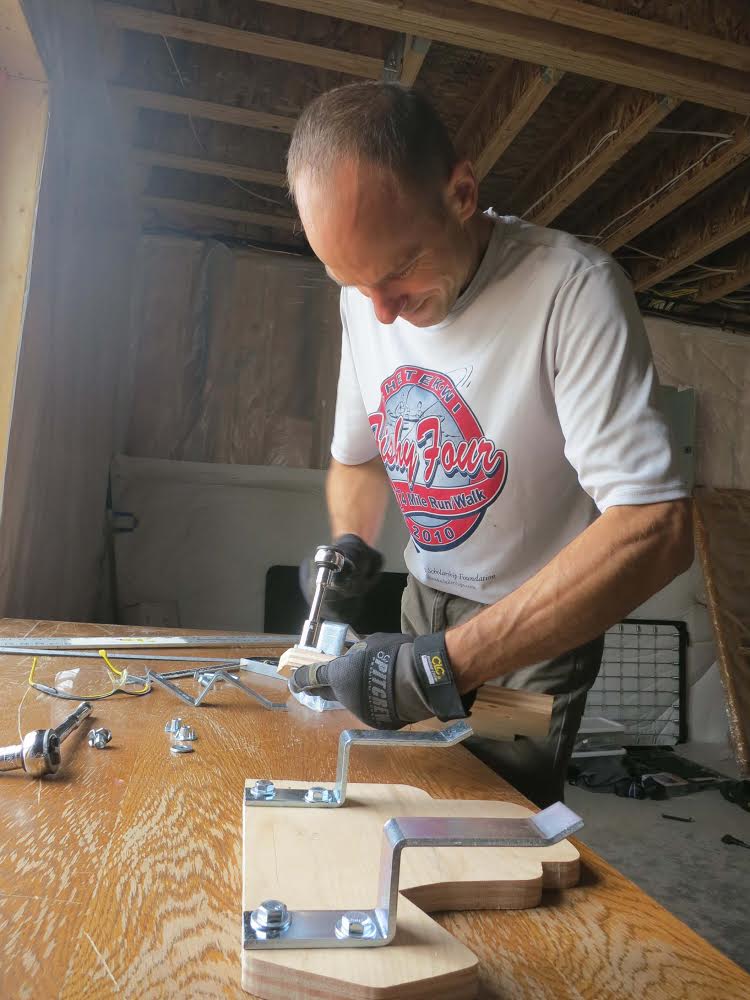
Torquing the bolts into the T-Nuts.
Here is the finished backplate with Door Stops, bolts, and washers:

The finished backplate.
And this is the front view, showing the T-Nuts flush with the plywood for easy mounting of the RPTC:
The front side of the backplate. Note the T-nuts are flush with the plywood to allow you to mount the RPTC flush.
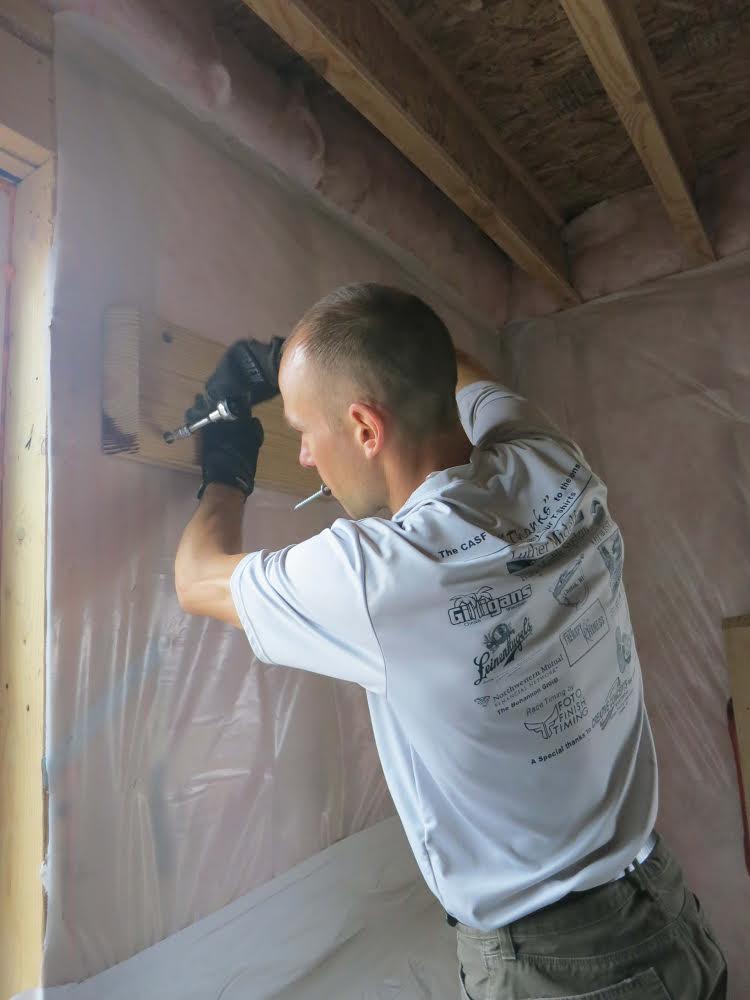
The next step is to mount your RPTC on the base boards. Carefully select your screws (length in particular) so that they DO NOT protrude out the back of the plywood. If they do, you’ll need to cut them off with a cutoff wheel or grinder, and that’s a pain you should try to avoid.
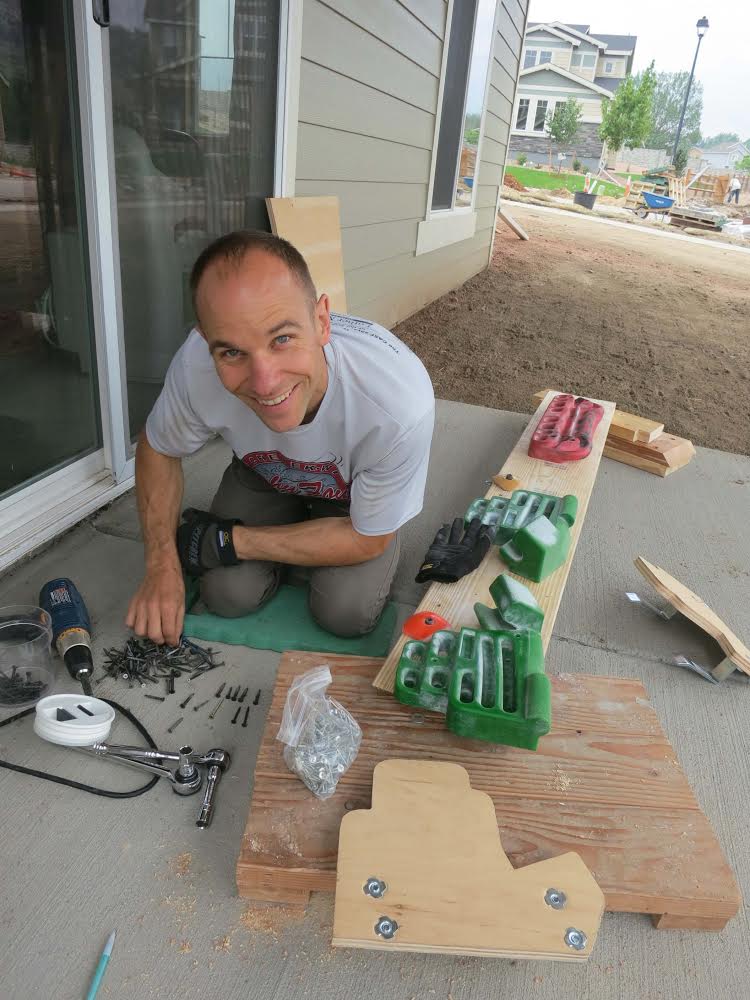
Selecting the right length screws from my collection to mount the RPTC with.
Here are the finished adjustable mounts with RPTC halves mounted:
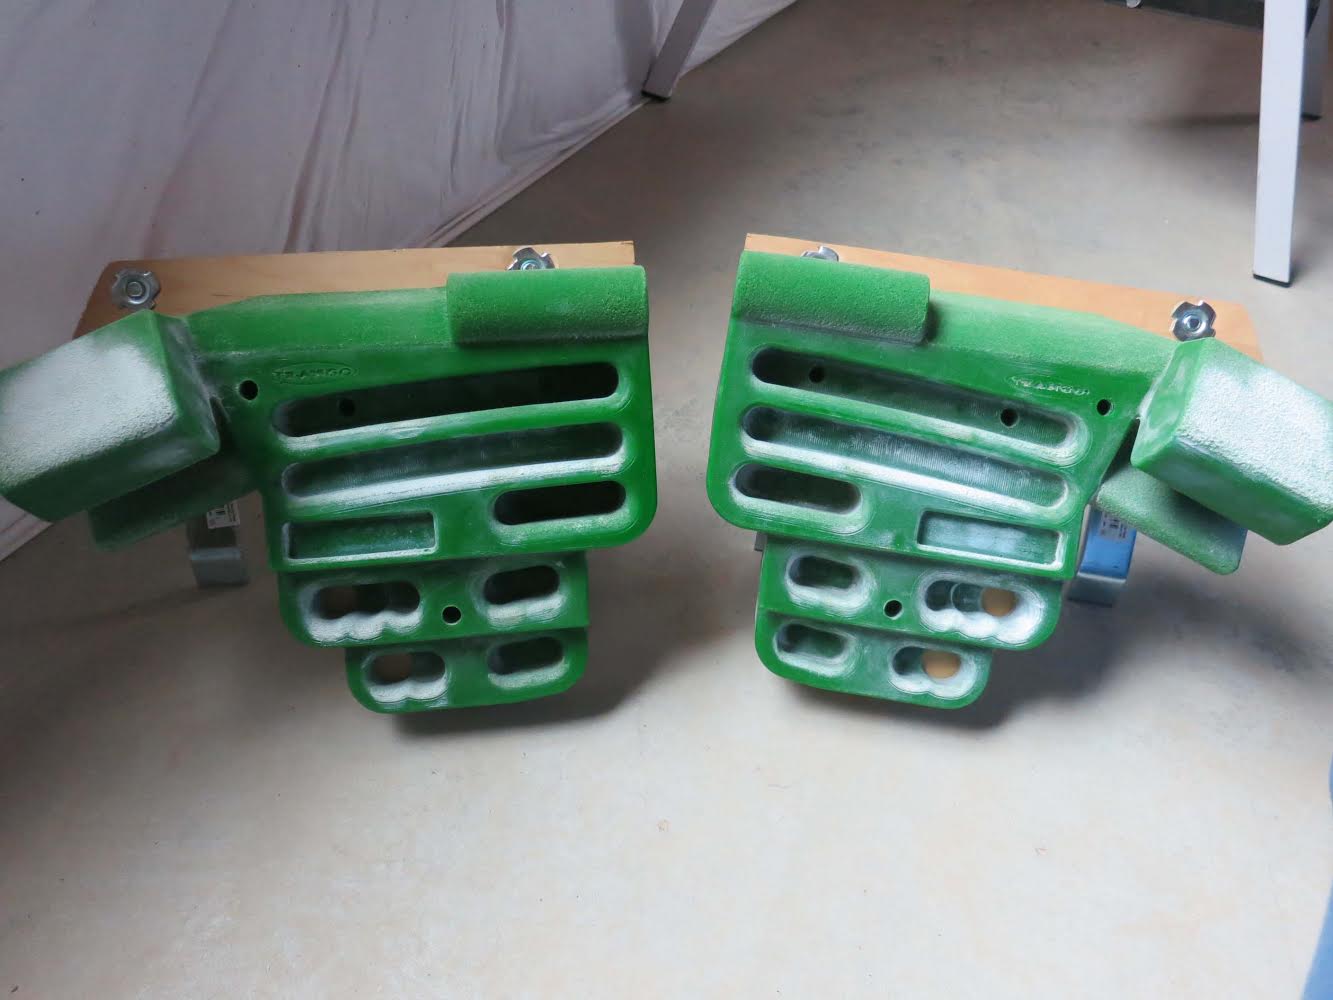
The RPTC mounted on the base plates.
At this point, if you throw your RPTC up on a 2×10, you’ll notice some slop in the mounting. The Door Stops are not 1.5″ deep like a 2×4, they are deeper, which leaves a gap. You may be able to live with this gap (and in my experience, it isn’t a problem). If not, you’ll need to mount shims on the backside of the 2×10 to “widen” the 2×10 and eliminate that gap. Something in the range of 3/8″ to 1/2″ shim will work. I used 3/8″, and this works well for me.
Shim material mounted to the back of the 2×10 that I use for my cross beam:
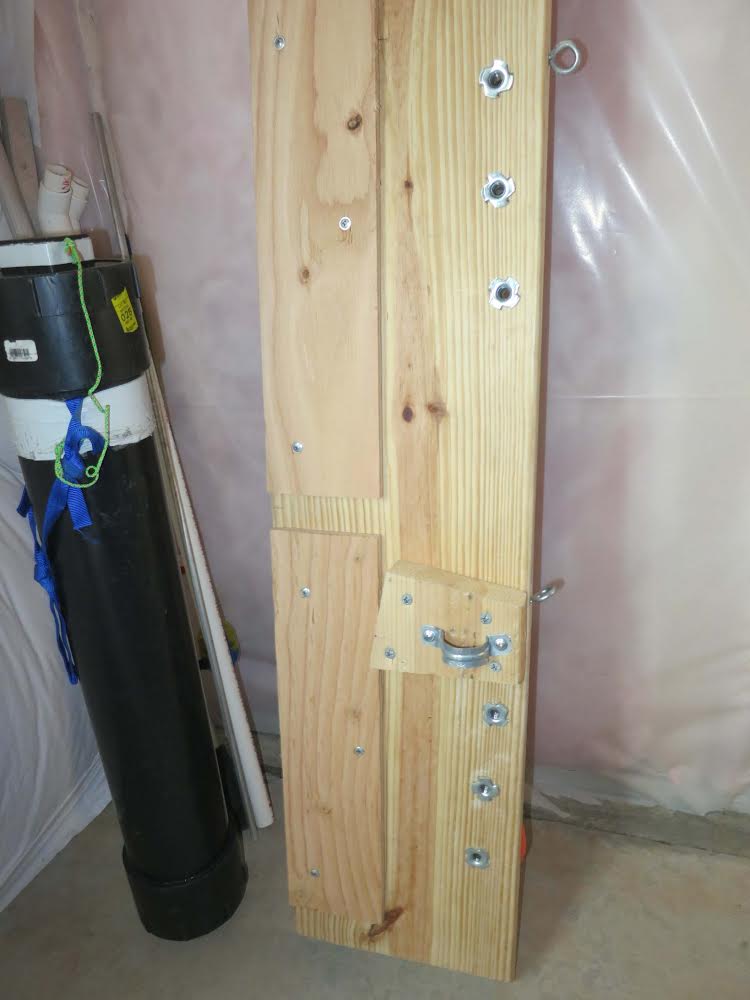
Shims added to the back of my 2×10 cross beam. And a poop tube (for some reason?)
Cutting out the shim material with my Jig saw:

Cutting the shims.
Finally, if you are accustomed to your hangboard residing at a particular height, you will want to relocate your cross beam. As I described in this article on how to mount a hangboard, I like the bottom of my board 81″ off the floor. The adjustable mount will raise the level of your board a few inches, so you may need to lower your crossbeam by a corresponding amount. If you have other boards or holds mounted on your crossbeam, you might want to just live with it, and build yourself a platform as described in the aforementioned article.
Lowering my cross beam to account for the increase in height provided by the door stops.
Here is the finished product, and the happy new owner of an adjustable hangboard:
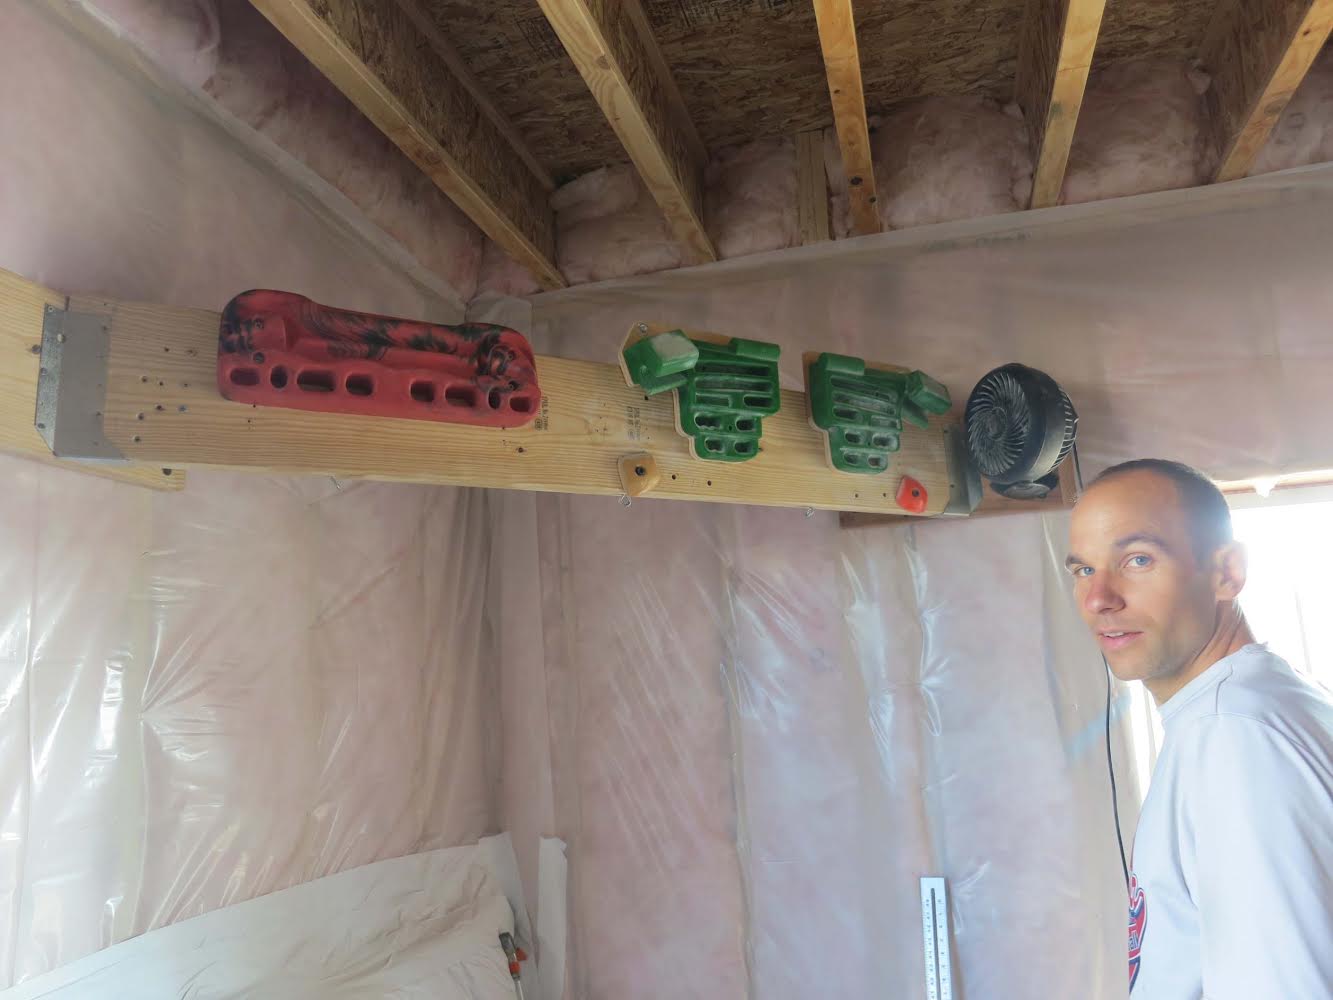
The finished product.

Nice work, been waiting for the “update”
Thanks, JT
LikeLike
Do you have any trouble with horizontal movement while hanging using this method of mounting?
LikeLike
Jesse, No, I have not had an issue with the boards moving horizontally under load. However, I will say, that you need to make sure you mount the “Door Stops” wide enough. If not, it is possible that you could hang from the pinches in such a way that the board will rotate off of the inside stop.
LikeLike
Nice installation and it appears that some additional effort can be saved by using a simple backplate design instead of tracing out the RPTC outlines.
LikeLike
This mounting system looks really great. I have one question though. How does the adjustable system deal with dynamic movements such as using the hangboard for pull ups etc? Should it be used exclusively for static hanging or can it handle pull ups and lock offs and so on? I was considering using this adjustable system to mount pull up “bombs” and wonder if it will handle the movement. Thanks!
LikeLike
My rig is totally fine for dynamic movements like pull-ups. I haven’t tried campusing or any other type of shock-loading, but its definitely ok for relative smooth dynamic movements.
LikeLike
Just finished mounting my RPTC using a french cleat; yes it is bulky and won’t transfer as easily but works fine. Getting the angle rip wasn’t too difficult using a table saw. The main thing is its nice to be able to adjust the width of the holds.
LikeLike
Pingback: Adjustable Mount for the RPTC | The Rock Climber's Training Manual
Thanks for posting. Much easier to make without a table saw than the french cleat, and less bulky.
I think the bolts and t-nuts used by climbers are 3/8″, not 5/16″ though (?), so you need 3/4 inch long 3/8″ bolts (its the hex wrench that is 5/16″, right?)
LikeLike
This is great, thanks! I built this up for our RPTC a week ago and we’re stoked. My wife and I are much different body sizes so this adjustable mount is perfect. We mount the RPTC on a removable 2×8 board we use at the top of a compact, free-standing campus board (so as to not interfere with the campus board workouts) so having the RPTC be removable makes the board lighter to remove/put in place.
Our local Do It Best hardware store had these “Bar holder open” brackets that are a snug fit on the 2×8 so no shims required. http://www.homedepot.com/p/The-Hillman-Group-Bar-Holder-Open-in-Zinc-Plated-5-Pack-851903-0/203809718
However, each bracket has three smaller holes instead of two so I used three 1/4″ t-nuts for each bracket. So far this feels plenty adequate for my 180lbs of weight.
LikeLike
Any suggestions for mounting a hangboard on an overhanging surface. I was thinking of just cutting out some wooden wedges to push the boards to vertical. But I was wondering if there might be a better way.
Thanks
LikeLike
Nothing comes to mind–I would probably do what you are suggesting. If making the wedge proves difficult, you could instead use a set of sturdy hinges, and then run something stiff (like a piece of wood) opposite the hinges to keep the board at the proper angle.
LikeLike
Pingback: The World’s Most Technologically Advanced Finger Training System – The Forge | The Rock Climber's Training Manual
Pingback: Adjustable Hangboard Mount (3.0) – Easiest yet! | The Rock Climber's Training Manual
In a couple of pictures on this post I see a pipe mounted to the back of the 2×10 mounted with some clamps to blocks. This looks like you’re using it for pull ups or other hanging exercises (given the athletic tape wrap). I’m a woodwork dilettante – those clamps look a little wimpy for supporting body weight. Have you had good luck with this (assuming I’m interpreting what I’m seeing correctly)? I’m putting together something similar and would like to have a flat bar mounted in a similar location and considering different mounting options.
LikeLike
Jared, I’ve been using those pipe fittings for years, loading them to 225 lbs with no issues. Use good wood screws.
LikeLike